
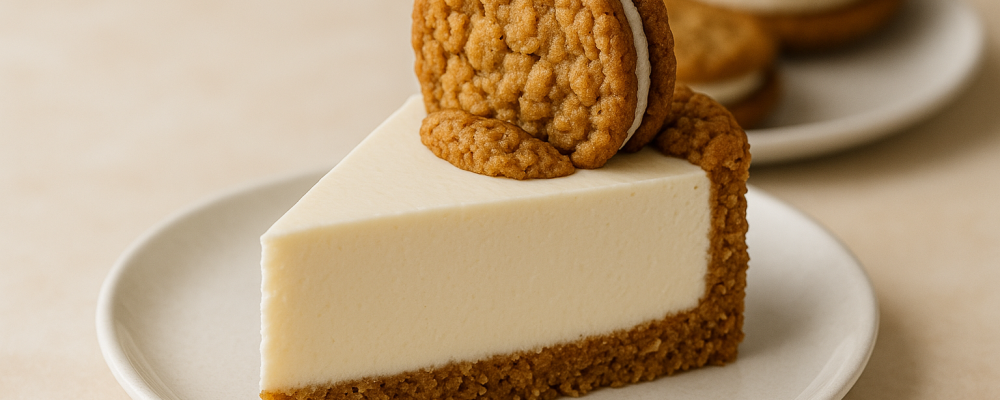

This Oatmeal Cream Pie Cheesecake brings childhood nostalgia to your Sweet Sundae table by transforming the beloved sandwich cookie into an elegant dessert centerpiece. With its crushed cookie crust, velvety cream cheese filling infused with oatmeal cream pie flavors, and whole cookies as garnish, it’s a conversation starter that delivers both visual impact and incredible taste. Perfect for special occasions when you want to surprise guests with familiar flavors in an unexpected form.
If you love cookie-inspired desserts, you’ll also enjoy our Nutter Butter Peanut Butter Cheesecake with its similar nostalgic appeal and rich cheesecake base. For another impressive make-ahead dessert, try the Chocolate Trifle Cake—it offers layers of indulgent flavors that develop beautifully overnight.
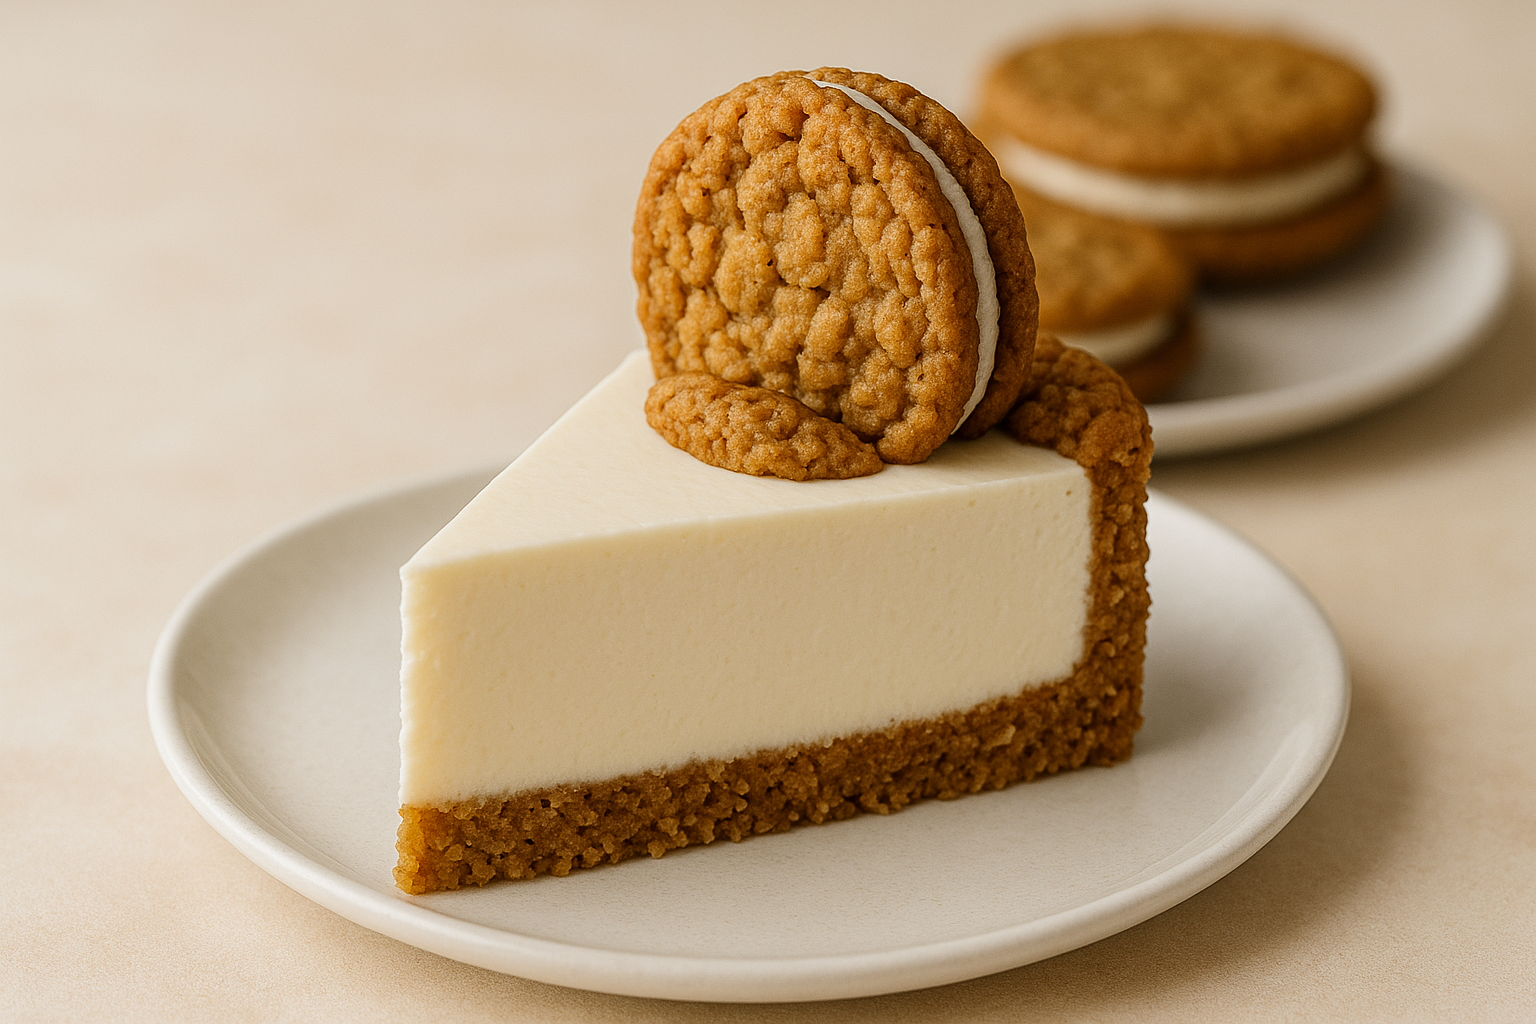
Oatmeal Cream Pie Cheesecake
Oatmeal Cream Pie Cheesecake transforms beloved sandwich cookies into an indulgent cheesecake with a cookie crust, silky filling, and whole cookie garnish.
4
servings30
minutes40
minutes300
kcal1
hour10
minutesIngredients
1.5 cups crushed oatmeal cream pies
0.5 cups melted butter
3 packages cream cheese, softened
1 cup granulated sugar
3 units large eggs
1 tsp vanilla extract
1 cup heavy cream
5 units whole oatmeal cream pies
Directions
- Preheat your oven to 325°F (163°C) and prepare a springform pan by greasing it or lining it with parchment paper.
- In a medium bowl, combine crushed oatmeal cream pies and melted butter until the mixture is well mixed and sticky.
- Press the mixture firmly into the bottom of the prepared springform pan, making sure it is evenly spread to form the crust.
- In a large mixing bowl, beat the softened cream cheese with a hand mixer until it becomes smooth and creamy in texture.
- Gradually add the sugar to the cream cheese, continuing to beat until the mixture is well blended and free of lumps.
- Add the eggs one by one, mixing after each addition. Be sure to scrape down the sides of the bowl to ensure even mixing.
- Add in the vanilla extract and heavy cream, and mix at low speed until just combined and smooth without overmixing.
- Pour the cheesecake batter over the crust in the springform pan, spreading it evenly with a spatula or spoon.
- Place the pan in the preheated oven and bake for 60 minutes or until the center is set and does not jiggle.
- Once baked, turn off the oven and leave the cheesecake inside to cool for about an hour to prevent cracks.
- Remove the cheesecake from the oven and refrigerate it overnight, allowing it to set completely and develop flavors.
- Before serving, arrange whole oatmeal cream pies around the edge of the cheesecake as an additional decoration.
Nutrition Facts
- Total number of serves: 4
- Calories: 250kcal
- Cholesterol: 0mg
- Sodium: 620mg
- Potassium: 400mg
- Sugar: 8g
- Protein: 6g
- Calcium: 60mg
- Iron: 2mg
Can’t get enough of great flavors? Check out these popular recipes that readers love making again and again.
For celebration-worthy centerpieces, our Butter Pecan Cake and Chocolate Cherry Upside Down Cake create memorable finales to special meals. When you want comfort food that satisfies, the Pork Medallions and Chicken Breasts in Caper Cream Sauce deliver elegant flavors with homestyle appeal. Need make-ahead crowd-pleasers? Our Green Chile Chicken and Rice Casserole and Creamy Shrimp Enchiladas prep beautifully for entertaining.
Browse our full collection for more kitchen inspiration that’ll have your family asking for seconds.















