

This Amish Peanut Butter Cream Pie brings traditional comfort to your Sweet Sundae table with its incredibly rich and creamy peanut butter filling nestled in a buttery graham cracker crust. The simple, honest ingredients create layers of pure indulgence topped with fluffy whipped cream. It’s the kind of dessert that reminds you why classic recipes endure—sometimes the most straightforward approach delivers the most satisfying results.
If you love creamy, no-bake pies with rich flavors, you’ll also enjoy our Key Lime Pie Bars with their similar tangy-sweet profile and graham crust base. For another peanut butter favorite, try the Nutter Butter Peanut Butter Cheesecake—it offers that same beloved nutty richness in an equally indulgent format.
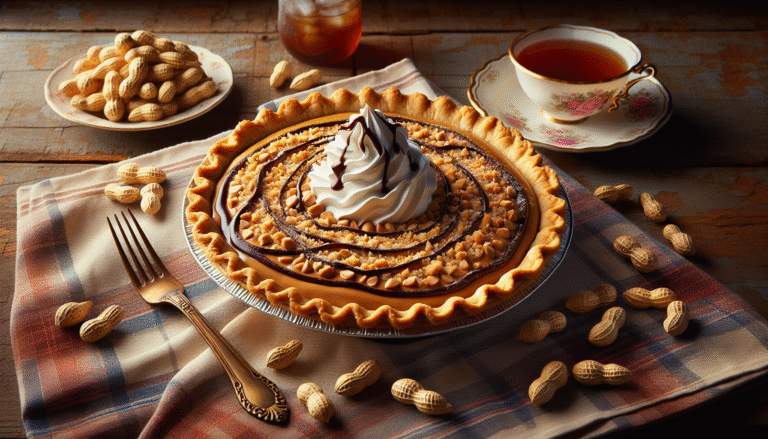
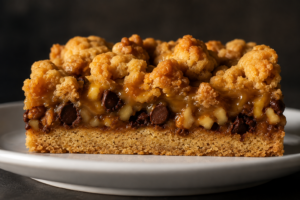
Amish Peanut Butter Cream Pie
Amish Peanut Butter Cream Pie delivers old-fashioned comfort with its silky peanut butter pudding filling, graham cracker crust, and fluffy whipped cream topping.
8
servings20
minutes10
minutes450
kcal30
minutesIngredients
1 cup graham cracker crumbs
0.33 cup sugar
0.5 cup butter
1 cup creamy peanut butter
1 cup confectioner’s sugar
2 cups milk
1 package vanilla pudding mix
1 cup whipped cream
Directions
- Preheat your oven to 350°F (175°C) to prepare for baking the pie crust.
- In a medium bowl, combine graham cracker crumbs, sugar, and melted butter until well mixed.
- Press the graham cracker mixture into the bottom and sides of a pie pan to form the crust.
- Bake the crust in the preheated oven for about 10 minutes. Allow it to cool completely.
- In a large mixing bowl, beat together the peanut butter and confectioner’s sugar until smooth.
- Add the milk and vanilla pudding mix to the peanut butter mixture and blend thoroughly until creamy.
- Pour the peanut butter pudding mixture into the cooled pie crust and spread evenly.
- Top the pie with whipped cream, spreading it evenly over the peanut butter layer.
- Chill in the refrigerator for at least 2 hours or until firm before serving.
Nutrition Facts
- Total number of serves: 4
- Calories: 450kcal
- Cholesterol: 0mg
- Sodium: 620mg
- Potassium: 400mg
- Sugar: 8g
- Protein: 6g
- Calcium: 60mg
- Iron: 2mg
Can’t get enough of great flavors? Check out these popular recipes that readers love making again and again.
For cozy comfort dinners, our Hamburger Steak in Creamy Dill Sauce and Cheesy Southwestern Chicken Tortilla Soup warm hearts with familiar flavors done right. When you’re planning special gatherings, the Garlic Butter Pan Seared Pork Chops and Grilled Citrus Chicken with Glaze create memorable main courses. Need crowd-pleasing sides? Our Jalapeño Popper Chicken Salad and Deviled Egg Salad bring party-perfect flavors to any spread.
Browse our full collection for more kitchen inspiration that’ll have your family asking for seconds.


