Hawaiian Poke Cake

Hawaiian Poke Cake

Healthy Fact of the Day

Pineapple contains bromelain, an enzyme that aids digestion and has anti-inflammatory properties. The fruit also provides vitamin C and manganese, supporting immune function and bone health.

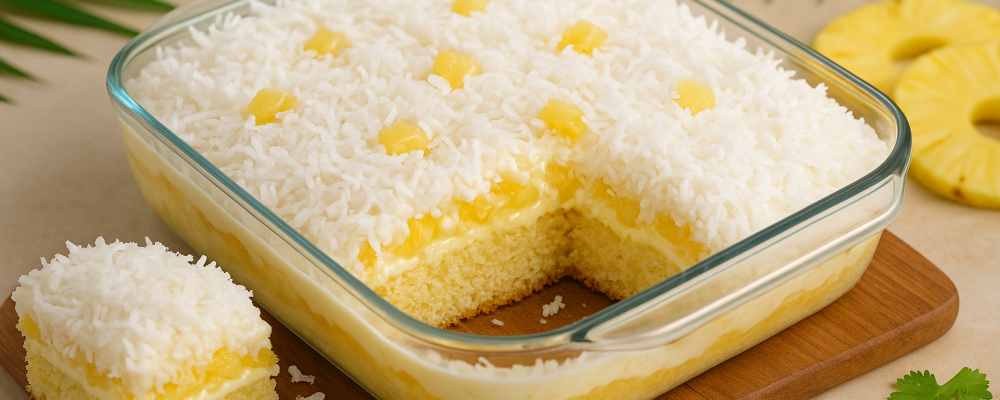
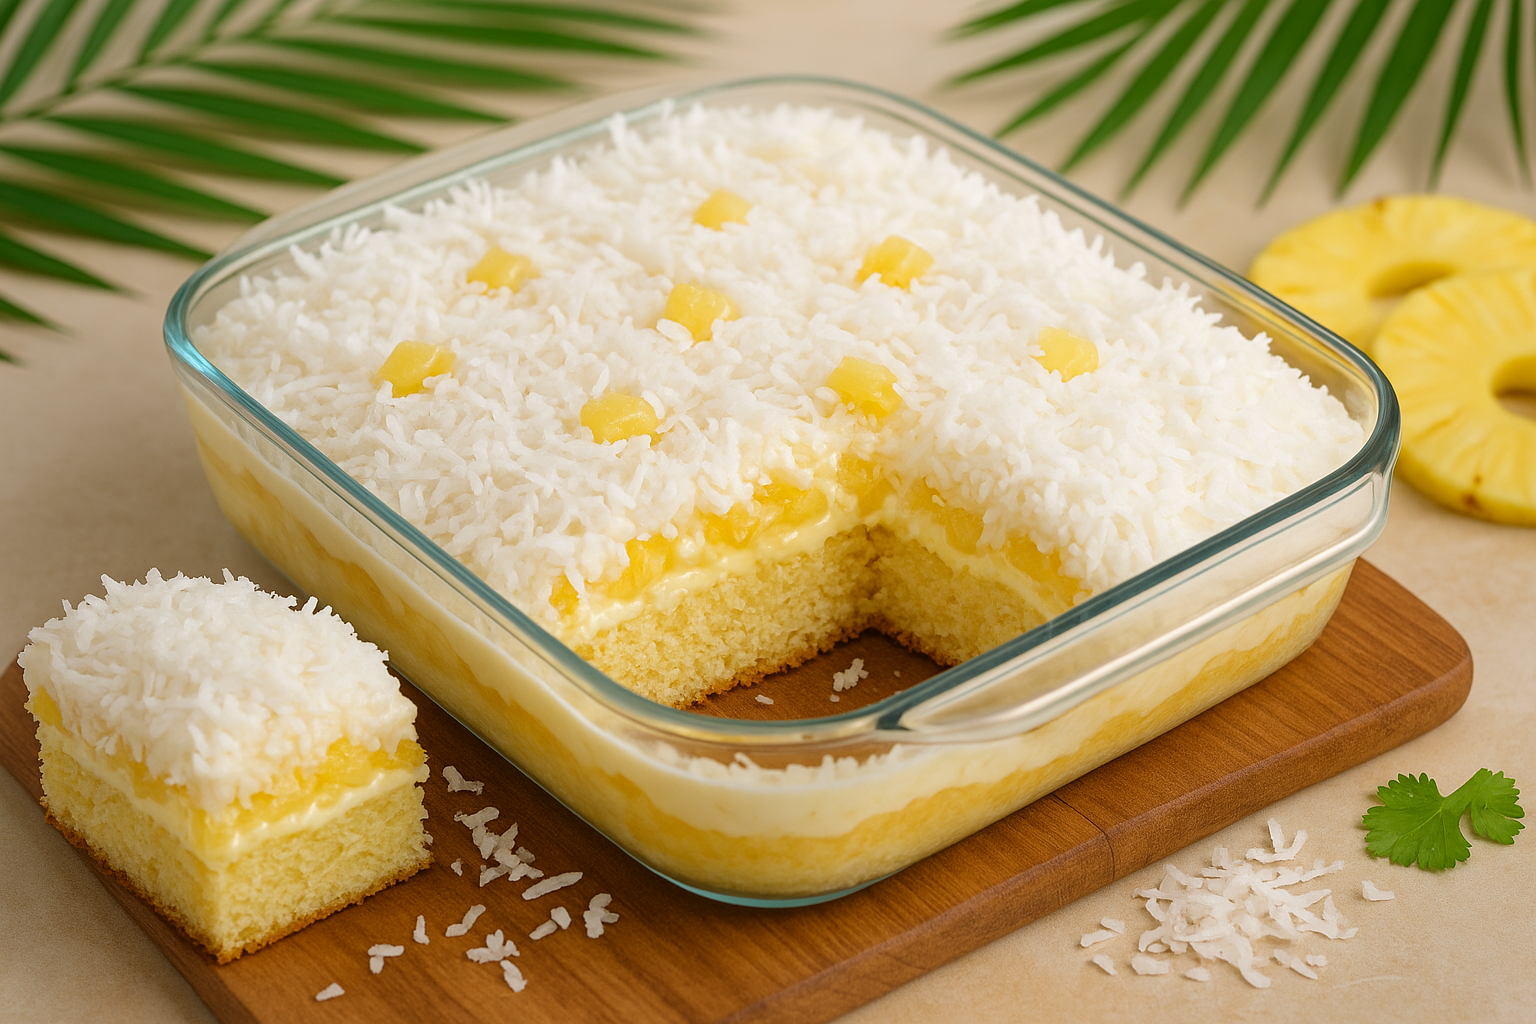
This Hawaiian Poke Cake brings tropical vacation vibes to your dessert table with layers of moist yellow cake soaked in sweet pineapple juice, creamy vanilla pudding, and a generous topping of crushed pineapple and coconut. The “poke” technique allows the pineapple juice to penetrate every bite, creating incredibly moist cake that’s bursting with island flavors. It’s the perfect make-ahead dessert that gets even better as it chills and the flavors meld together.

If you love these tropical flavors, you’ll also enjoy our Hawaiian Banana Bread with Coconut & Pineapple that captures similar island-inspired sweetness in a different format. For another coconut-forward treat, try the Coconut Cream Bars with their rich, creamy coconut filling and buttery crust. The Mini Pineapple Upside-Down Cheesecakes offer elegant individual portions with that same pineapple-coconut combination.
Hawaiian Poke Cake

Hawaiian Poke Cake

Recipe by Daily Disher

Hawaiian Poke Cake features a tender yellow cake soaked with pineapple juice, topped with creamy vanilla pudding, crushed pineapple, and coconut for pure tropical bliss.ed in just one pan.

Course: DessertCuisine: AmericanDifficulty: Easy
0.0 from 0 votes
Servings

4

servings
Prep time

30

minutes
Cooking time

40

minutes
Calories

300

kcal
Total time

1

hour 

10

minutes

    Ingredients

    • 1 package yellow cake mix

    • 1 cup water

    • 3 eggs

    • 1/3 cup vegetable oil

    • 1 can crushed pineapple

    • 1 package vanilla pudding mix

    • 2 cups milk

    • 1 cup sweetened shredded coconut

    • 1 container whipped topping

    Directions

    • Preheat your oven to 350 degrees Fahrenheit. Grease a 9×13 inch baking pan and set aside for later use.
    • Prepare the yellow cake mix according to the package instructions using water, eggs, and vegetable oil, mixing well until smooth.
    • Pour the batter into the prepared baking pan, spreading it evenly. Bake in the preheated oven for 30 to 35 minutes.
    • While the cake is baking, drain the can of crushed pineapple, reserving the juice in a small bowl for later.
    • Remove the cake from the oven and allow it to cool for 10 minutes, then use a fork to poke holes all over the surface.
    • Pour the reserved pineapple juice evenly over the poked cake, allowing it to soak into the holes for added moisture.
    • In a medium bowl, mix together vanilla pudding mix with milk and allow it to set slightly; then fold in the whipped topping.
    • Spread the pudding and whipped topping mixture evenly over the cooled cake, using a spatula to ensure even coverage.
    • Top the cake with an even layer of drained crushed pineapple, followed by a generous sprinkle of shredded coconut.

    Nutrition Facts

    • Total number of serves: 4
    • Calories: 250kcal
    • Cholesterol: 0mg
    • Sodium: 620mg
    • Potassium: 400mg
    • Sugar: 8g
    • Protein: 6g
    • Calcium: 60mg
    • Iron: 2mg

    Can’t get enough of great flavors? Check out these popular recipes that readers love making again and again.

    For sweet endings that wow, our Butter Pecan Cake and Chocolate Cherry Upside Down Cake deliver bakery-quality results that make any occasion special. When you’re planning make-ahead desserts, the No-Bake Chocolate Eclair Cake and Cheesecake Brownies offer convenience without sacrificing flavor. Need crowd-pleasing treats? Our Blueberry Buttermilk Pancake Casserole and Southern Breakfast Enchiladas with Sausage Gravy turn ordinary mornings into celebrations.

    Browse our full collection for more kitchen inspiration that’ll have your family asking for seconds.


    0.0 from 0 votes

    Recent Recipes

    Cinnamon Roll Skillet Bread

    • July 18, 2026
    • 12 min read

    The Instant Pot Meals Worth Actually Making

    • July 18, 2026
    • 4 min read

    The Cook Who Changed Everything: Julia Child

    • July 18, 2026
    • 10 min read

    Garlic Butter Sausage Bites with Cream Parmesan

    • July 18, 2026
    • 6 min read

    Starbucks Holiday Creamers Are Already Showing Up

    • July 17, 2026
    • 3 min read

    The Salt of the Earth: A Deep

    • July 17, 2026
    • 11 min read

    Grilled Pesto Turkey Burgers

    • July 17, 2026
    • 4 min read

    Campbell’s Just Did Something It Hasn’t Done

    • July 16, 2026
    • 3 min read

    Grapefruit Margarita

    • July 16, 2026
    • 11 min read

    The Forgotten Virtue of Eating Slowly

    • July 16, 2026
    • 11 min read

    Tip of the Day

    “Always let your meat rest before slicing.”

    Whether you're roasting a chicken, grilling steak, or baking pork tenderloin, letting cooked meat rest for 5–10 minutes before slicing allows the juices to redistribute evenly. This simple step keeps your meat juicy and tender, ensuring every bite is flavorful and moist. Bonus: It gives you a moment to plate your sides or garnish for a perfect presentation!

    Our Latest Recipes

    Breakfast
    Aurora Wright

    Cinnamon Roll Skillet Bread

    Cinnamon contains cinnamaldehyde, a natural compound with antioxidant and anti-inflammatory properties that may help support healthy blood sugar levels—making this indulgent skillet bread a slightly smarter sweet treat.

    Read More »
    Blog
    Daily Disher

    The Instant Pot Meals Worth Actually Making (And the Trick That Makes Them Work)

    Pressure cooking is one of the better methods for retaining nutrients in food — the shorter cook time means less exposure to heat, which preserves more vitamins and minerals than long stovetop or oven methods. It’s also one of the most efficient ways to cook dried beans from scratch, which are significantly lower in sodium than canned and higher in fiber per serving. If you haven’t tried cooking dried chickpeas or black beans in the Instant Pot, it’s worth the experiment — no soaking required and done in about 40 minutes.

    Read More »
    Blog
    Daily Disher

    The Cook Who Changed Everything: Julia Child and the Democratization of French Cooking

    Julia Child’s approach to cooking — using real butter, real cream, real ingredients in appropriate quantities rather than the low-fat substitutes that became fashionable in the decades after her peak influence — has been increasingly vindicated by nutritional research that has revised the understanding of dietary fat developed in the 1970s and 1980s. The full-fat dairy and the moderate use of butter and olive oil that characterize classical French cooking, which Child championed, align closely with the Mediterranean dietary pattern now recognized as one of the most health-supportive available. Child herself, who ate with genuine pleasure and without dietary anxiety throughout her life, lived to ninety-one — a biographical data point that she would have appreciated being noted.

    Read More »

    Get your daily dose of delicious!

    Skip to content












