Coconut Cream Bars

Coconut Cream Bars

Healthy Fact of the Day

Coconut provides dietary fiber and healthy fats that support satiety. Using sweetened condensed milk adds richness, so you can enjoy satisfying sweetness in small portions.

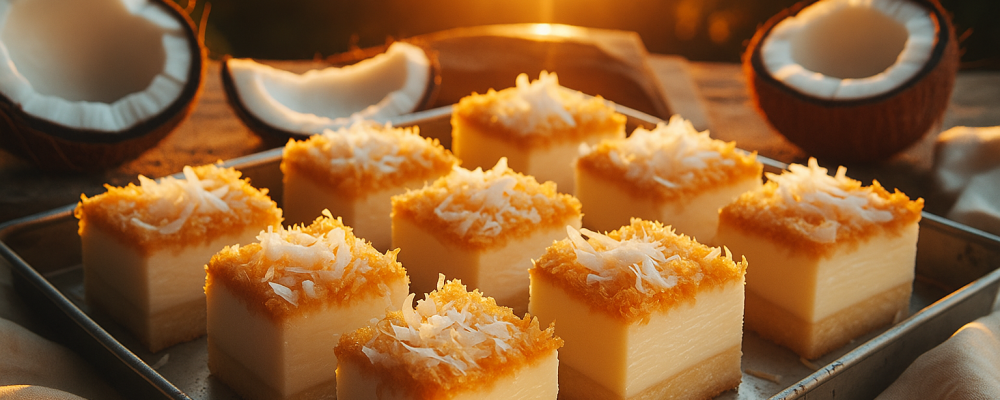
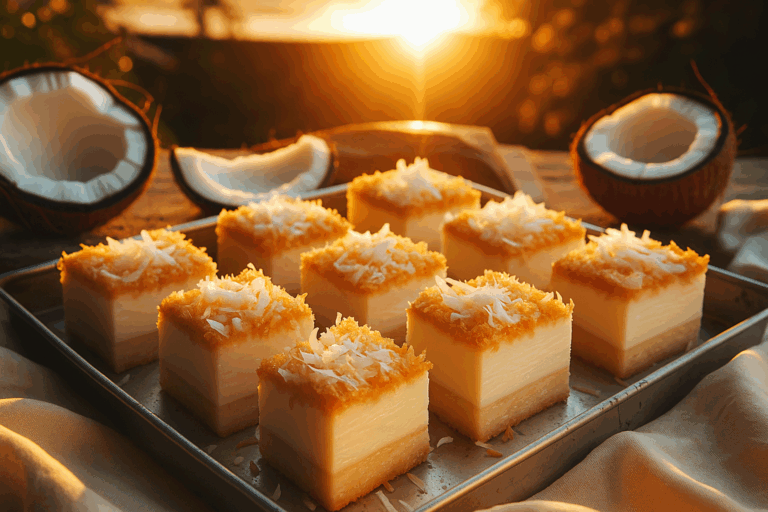
These Coconut Cream Bars bring tropical flair to your dessert table with layers of graham cracker crust, creamy coconut filling, and a white chocolate topping. They’re baked until golden and set to perfection—perfect for potlucks, picnics, or a sweet treat at home. Easy to make and even easier to love.

If you love these tropical flavors, you’ll also enjoy our Key Lime Pie Bars with their tangy citrus creaminess and similar bar format. For another coconut-inspired treat, try the Hawaiian Banana Bread with Coconut & Pineapple. It’s packed with those same island flavors that make these bars so irresistible.
Coconut Cream Bars

Coconut Cream Bars

Recipe by Daily Disher

Coconut Cream Bars are irresistibly chewy with a buttery graham cracker crust, creamy coconut center, and melty white chocolate topping.

Course: DessertCuisine: AmericanDifficulty: Easy
5.0 from 1 vote
Servings

12

servings
Prep time

20

minutes
Cooking time

30

minutes
Calories

250

kcal

50

minutes

    Ingredients

    • 1 cup graham cracker crumbs

    • 1/4 cup sugar

    • 1/2 cup melted unsalted butter

    • 1 cup shredded coconut

    • 1 can sweetened condensed milk

    • 1 teaspoon vanilla extract

    • 1/2 cup white chocolate chips

    Directions

    • Preheat the oven to 350°F (175°C) and grease a 9×9 inch baking dish with butter or non-stick spray.
    • In a medium bowl, combine graham cracker crumbs and sugar. Stir in the melted butter until the mixture resembles wet sand.
    • Press the crumb mixture evenly into the bottom of the prepared baking dish to form a crust layer, and set aside.
    • In another bowl, mix together the shredded coconut, sweetened condensed milk, and vanilla extract until fully combined.
    • Spread the coconut mixture over the crust in the baking dish, smoothing it out with the back of a spoon.
    • Sprinkle white chocolate chips evenly over the top of the coconut layer to ensure even distribution during baking.
    • Bake in the preheated oven for 25-30 minutes or until the edges are golden brown and the middle is set.
    • Allow the bars to cool in the baking dish on a wire rack for at least 30 minutes before cutting into squares.

    Nutrition Facts

    • Total number of serves: 4
    • Calories: 250kcal
    • Cholesterol: 0mg
    • Sodium: 620mg
    • Potassium: 400mg
    • Sugar: 8g
    • Protein: 6g
    • Calcium: 60mg
    • Iron: 2mg

    Can’t get enough of great flavors? Check out these popular recipes that readers love making again and again.

    For crispy favorites, our Crispy Chicken Parmesan and Bang Bang Cauliflower deliver that perfect crunch everyone craves. When you’re planning special occasions, the Overnight Eggs Benedict Casserole and Porcini and Chestnut Soup bring elegance to your table. Need quick weeknight wins? Our Garlic Chicken with Broccoli and Spinach and Pineapple Chicken and Rice get dinner done fast without sacrificing flavor.

    Browse our full collection for more kitchen inspiration that’ll have your family asking for seconds.


    5.0 from 1 vote

    Recent Recipes

    Stuffed Italian Meatloaf

    • August 27, 2026
    • 6 min read

    Why You’re Supposed to Let Meat Rest

    • August 27, 2026
    • 4 min read

    French Onion Steak Pinwheels

    • August 27, 2026
    • 13 min read

    Slow Cooker Chicken Shawarma

    • August 27, 2026
    • 6 min read

    Most Olive Oil Labels Are Telling You

    • August 27, 2026
    • 4 min read

    Air Fryer Coconut Shrimp Tacos

    • August 27, 2026
    • 11 min read

    One Pot Beef & Noodles

    • August 27, 2026
    • 5 min read

    The Dish You Make When You Don’t

    • August 27, 2026
    • 4 min read

    Loaded Taco Deviled Eggs

    • August 27, 2026
    • 13 min read

    Baked Queso Chicken

    • August 27, 2026
    • 6 min read

    Tip of the Day

    “Always let your meat rest before slicing.”

    Whether you're roasting a chicken, grilling steak, or baking pork tenderloin, letting cooked meat rest for 5–10 minutes before slicing allows the juices to redistribute evenly. This simple step keeps your meat juicy and tender, ensuring every bite is flavorful and moist. Bonus: It gives you a moment to plate your sides or garnish for a perfect presentation!

    Our Latest Recipes

    Entrees
    Benjamin Brown

    Stuffed Italian Meatloaf

    Spinach adds iron, fiber, and vitamins to this dish, sneaking in extra nutrition without changing the comforting, cheesy flavor everyone loves.

    Read More »
    Blog
    Daily Disher

    Why You’re Supposed to Let Meat Rest (And What Happens If You Don’t)

    Letting meat rest before slicing helps retain more of its natural juices, which also means retaining more of the B vitamins and minerals like iron and zinc that would otherwise be lost onto the cutting board — and resting meat away from direct heat also reduces the formation of certain compounds linked to prolonged high-heat exposure.

    Read More »
    Entrees
    Amelia Grace

    French Onion Steak Pinwheels

    Flank steak is a naturally lean cut rich in protein, iron, and zinc—caramelized onions develop deep sweetness without any added sugar, making this an indulgent-tasting dish that’s more nutritious than it appears.

    Read More »

    Get your daily dose of delicious!

    Skip to content












