

A pepita cluster is not simply a roasted seed. It is the product of a specific sequence of chemical events that, executed correctly, produces a crisp, caramelized unit of seeds bound together by a hardened sugar matrix—and executed incorrectly, produces either a sticky, underdone mass or a scorched, bitter sheet of burned honey. Understanding what each ingredient is doing, and why the sequence of steps produces a cluster rather than a pile of loosely roasted seeds, is what separates a recipe that reliably produces the intended result from one that works sometimes and fails others.
The honey is the primary binding and caramelizing agent. When applied to raw pepitas and subjected to oven heat, the honey’s sugars undergo two simultaneous processes: evaporation of water content and thermal caramelization. As the water evaporates, the honey concentrates around the surface of the seeds, becoming progressively stickier and more viscous. As the temperature continues to rise, the sugars pass through the caramelization threshold—around 338°F for fructose, slightly higher for glucose—developing the bitter, complex, amber flavor compounds that distinguish properly caramelized honey from simply heated honey. When the sheet pan is removed from the oven and the mixture cools, these concentrated, caramelized sugars reharden into a glass-like matrix that binds adjacent seeds together into clusters.
The olive oil serves a distinct and necessary function alongside the honey: it acts as a thermal buffer between the seeds and the parchment paper, preventing the seeds at the base of each cluster from scorching before the upper layers have finished caramelizing. It also carries the fat-soluble flavor compounds in the chili powder and lime zest into direct contact with every seed surface, producing a more uniform and persistent spice distribution than a water-based coating alone could achieve. Each of the six ingredients in this recipe has a specific functional reason for being present, and removing any of them would produce a categorically different result.
─────────────────────────────────────────
The Inspiration Behind This Recipe
The design brief for this recipe was a snack that occupied the precise intersection of three flavor registers that rarely appear together in a single preparation: caramelized sweetness, chili heat, and citrus brightness. Most spiced nut and seed preparations choose two of the three—sweet and spicy, or spicy and savory, or sweet and citrusy—and sacrifice the third for the sake of flavor clarity. This recipe was built around the conviction that all three can coexist in a single bite without any of them being compromised, provided the ratios and the sequencing are correct.
The lime component was the most technically interesting design challenge. Lime juice and lime zest contribute different things to the preparation and behave differently under oven heat. Lime zest—the outer layer of the lime’s peel—contains aromatic essential oils that are fat-soluble and heat-stable enough to survive the fifteen-minute bake without fully volatilizing. Applied in the coating mixture, the zest’s oils distribute through the olive oil phase and create a persistent citrus fragrance in the finished cluster. Lime juice, by contrast, contributes acidity in water-soluble form—its citric acid interacts with the honey’s sugar chemistry during baking, slightly lowering the pH of the caramelizing mixture and producing a brighter, more acidic final flavor than honey alone would achieve. The two lime components are performing different functions and are both necessary to produce the full citrus character this recipe targets.
Chili powder at the quantity required to produce perceivable heat without overwhelming the honey’s sweetness or the lime’s brightness requires calibration based on the specific chili powder being used—heat levels vary significantly between brands and blend compositions. The recipe is designed to be tasted and adjusted before baking, which is the correct approach for any spiced preparation where the heat compound (capsaicin) is the variable most likely to make or break the result.
─────────────────────────────────────────
A Brief History of Spiced Seed Preparations
The tradition of roasting seeds with spice and sweetener is one of the oldest and most universally distributed snack preparations in human culinary history. In pre-Columbian Mesoamerica, pepitas—the hulled seeds of specific squash varieties—were among the most important food sources available, consumed raw, roasted, and ground into sauces that remain foundational to Mexican cuisine today. The combination of pumpkin seeds with chili—in sauces, in moles, and as a seasoned snack—predates written culinary records and reflects the natural flavor affinity between the seed’s mild nuttiness and the region’s dried chili tradition.
The specific sweet-spiced seed preparation that most directly precedes the contemporary cluster format appears in the candied and spiced nut and seed traditions of both European and Mesoamerican cooking—sugar-glazed almonds in medieval European markets, honey-coated toasted corn in pre-Columbian Mexico, and the Spanish and Mexican pepitas garapiñadas tradition of candied pumpkin seeds that emerged from the colonial period’s exchange of culinary practices between the two traditions. The cluster format—where seeds are allowed to cool in contact with each other so that the hardened sugar matrix bonds them into irregular, breakable groupings—is a variation on the brittle tradition, producing a lighter, more irregular preparation than a pressed brittle but using the same fundamental caramelization chemistry.
Chili-lime as a specific flavor combination reflects the Mexican culinary tradition of applying dried chile and citrus together as a seasoning profile for everything from fresh fruit to street corn to roasted seeds—a tradition most visibly represented in Tajín seasoning but with roots in Indigenous Mesoamerican cooking that long predate the commercial product. The addition of honey as a glazing and binding agent updates the flavor profile with a contemporary sweet-heat-acid balance that has become one of the most widely adopted flavor frameworks in modern snack development.
─────────────────────────────────────────
Why This Cooking Method Works for Meal Prep
The 350°F baking temperature and the fifteen-minute window are specifically calibrated for the honey caramelization and water evaporation rates required to produce a proper cluster without crossing into scorching. At temperatures above 375°F, honey’s sugars caramelize faster than the water can evaporate, producing an exterior that browns before the coating has concentrated sufficiently to form a binding matrix—resulting in individual seeds with a lightly caramelized surface rather than seeds bonded together into clusters. At temperatures below 325°F, the process is too slow and the water evaporation insufficient, producing a sticky, underset result that never fully hardens on cooling.
The halfway-through stirring step is not simply a means of preventing burning—it serves the specific function of redistributing the partially caramelized honey coating from the bottom of each seed mass to the top, ensuring that every seed in the batch receives equivalent exposure to the caramelizing heat. Seeds that are not stirred remain in contact with the parchment throughout the bake, developing a denser caramelized layer at their base than at their exposed surfaces. The stir redistributes this differential and produces clusters that are uniformly caramelized throughout their cross-section rather than only at the contact surface.
Cooling completely on the baking sheet before breaking into clusters is the final step that cannot be shortened without compromising the structural integrity of the final product. The caramelized honey matrix is still fluid at oven temperature—it only hardens into its glass-like binding structure as it cools below approximately 70°F. Disturbing the clusters before they have fully set produces a mixture that sticks to hands, tears apart along random lines rather than breaking cleanly at natural cluster boundaries, and fails to develop the characteristic snap that distinguishes a properly set cluster from a merely sticky mass of seeds. The cooling period is the final chemical step in the clustering process, not simply waiting time.
─────────────────────────────────────────
Flavor Profile: What to Expect
These clusters operate at the bold intersection of sweet, spiced, and citrus—every note distinct and every note necessary:
- Caramelized honey sweetness – The honey’s caramelized sugars provide a deep, slightly bitter sweetness with the amber complexity that distinguishes properly caramelized honey from simply sweet—the flavor foundation that makes every other note more interesting
- Warm chili heat – Chili powder delivers a building, persistent heat that arrives after the sweetness and lasts longer than the citrus—present in every cluster as the backbone that gives the preparation its character and makes reaching for another one feel slightly inevitable
- Bright, aromatic lime zest – The essential oils from the lime zest provide a persistent citrus fragrance that is fat-carried and heat-stable—aromatic in every bite, most vivid when a cluster is first broken open
- Clean, acidic lime juice – The juice’s citric acid provides a sharp citrus brightness that cuts through the honey’s richness and keeps the flavor profile from tipping into sweetness—perceptible as a clean, fresh note underneath the caramelized base
- Nutty, mild pepita body – The seeds’ natural flavor—mild, slightly grassy, faintly nutty—absorbs and carries the coating evenly, providing a neutral but satisfying backdrop against which every other flavor registers clearly
- Fruity olive oil undertone – Most perceptible at the cluster’s edges, the olive oil contributes a quiet, slightly peppery richness that rounds the harder angles of the chili and the acid
The flavor balance shifts subtly after an overnight rest as the lime zest’s essential oils continue to bloom through the set honey matrix. Day-two clusters are noticeably more citrus-forward and more cohesive in flavor than freshly cooled ones—a consistent and worthwhile development.
─────────────────────────────────────────
Tips for Making the Best Chili Lime Pepita Clusters
Precision at the coating and cooling stages is what separates a batch of excellent clusters from one that is merely acceptable:
- Coat thoroughly and evenly before spreading – Every seed needs full coating coverage before the sheet pan goes into the oven. Under-coated seeds don’t caramelize uniformly and produce clusters with dry, unglazed pockets. Toss for at least sixty seconds in the bowl to ensure complete coverage before spreading.
- Spread in a single, thin layer – A thick layer of seeds produces clusters that are dense and slow to caramelize evenly; a thin, even spread produces the lighter, more irregular cluster structure that breaks apart more satisfyingly and tastes more uniformly seasoned throughout.
- Use the lime zest before the juice – Add the zest first, then the juice. Zest added after lime juice tends to clump and distribute unevenly; zest added first coats in the oil phase before the juice is added and distributes more evenly throughout the coating mixture.
- Watch the last two minutes carefully – The difference between properly caramelized and burned is narrow at the end of the baking window. Honey continues to darken quickly in the last few minutes; pull the pan when the seeds are deep golden rather than waiting for a darker amber.
- Don’t touch until completely cool – The full cooling period is approximately fifteen to twenty minutes at room temperature. If the clusters are still pliable when touched, they are not done setting. A properly set cluster snaps cleanly when broken and doesn’t feel tacky against the fingertip.
- Break into clusters, don’t pre-portion – Allow the cooled sheet to break along its natural fault lines—the boundaries where seeds didn’t bond during caramelization—rather than cutting into uniform portions. Natural clusters have more textural variety and visual interest than uniformly sized pieces.
Optional: A small pinch of flaky sea salt scattered over the clusters immediately after removing from the oven—before cooling—adds a visual and textural element that contrasts with the smooth caramelized surface and amplifies the sweet-savory balance considerably.
─────────────────────────────────────────
Portioning and Container Suggestions
A standard batch yields approximately two to three cups of broken clusters—a generous handful (roughly one-quarter cup) constitutes a satisfying snack serving, yielding eight to twelve snack portions from a single batch. The clusters’ irregular, breakable format makes pre-portioning into individual daily servings particularly efficient: a small zip bag or 4-ounce container per serving, filled on Sunday, takes under two minutes and means the week’s snacking is organized from the start.
These clusters store best in airtight containers at room temperature rather than in the refrigerator. The refrigerator’s humidity introduces moisture that softens the caramelized honey matrix, reducing the characteristic snap and crunch that makes the clusters most satisfying. A sealed glass jar or tin at room temperature maintains crispness for the full week and also allows the lime zest fragrance—which is most perceptible at room temperature—to be fully present when the container is opened.
For a visually striking presentation—these clusters are appropriate for entertaining as well as for daily snacking—serve them in a small bowl or ramekin alongside a margarita, a sparkling water with lime, or any beverage where the chili-lime flavor profile reads as complementary. The cluster’s visual appeal—irregular, golden, with the green flecks of lime zest visible at the surface—is strong enough to carry a presentation without any additional garnish.
─────────────────────────────────────────
Storage, Reheating, and Shelf Life Tips
- Room temperature storage (preferred): Keeps in an airtight container at room temperature for up to 7 days. This is the correct storage method—humidity from the refrigerator softens the caramelized matrix and should be avoided.
- Refrigerator storage: If the kitchen runs very warm or humid, refrigerator storage is acceptable for up to 10 days. Allow clusters to come fully to room temperature before eating—cold caramelized honey is harder and less flavorful than room-temperature caramelized honey.
- Freezer storage: Clusters freeze well for up to 2 months in an airtight bag. Thaw at room temperature for fifteen to twenty minutes—the caramelized honey matrix re-hardens fully within this window and the clusters return to their original texture.
- Re-crisping: If clusters have softened due to humidity exposure, spread on a parchment-lined baking sheet and place in a 300°F oven for four to five minutes. Remove and cool completely before eating—the caramelized matrix will re-harden as it cools and restore the original snap.
- No reheating required: These are a room-temperature snack. Heating beyond the re-crisping method above risks re-melting the honey matrix and losing the cluster structure.
- Moisture management: In particularly humid climates, a small food-safe silica gel packet or a piece of dry paper towel placed inside the storage container absorbs ambient moisture and extends crispness through the full week.
─────────────────────────────────────────
Why This Recipe Deserves a Spot in Your Meal Prep Rotation
The efficiency argument for these clusters is straightforward: five ingredients, one bowl, one sheet pan, fifteen minutes, and the result is a week’s worth of snacking with a flavor profile that is bold, specific, and genuinely distinctive. The cost per serving is low, the preparation requires no special equipment, and the shelf life—seven days at room temperature—is among the longest in the snack category. The practical case for keeping this recipe in regular rotation essentially makes itself.
The deeper case is the flavor argument, and it is the more important one. These clusters taste specifically, memorably of chili and lime and caramelized honey—a combination that is immediately identifiable and immediately satisfying in a way that more generically seasoned snacks are not. A snack that has a flavor identity this distinct is a snack that gets made and eaten not because it is the easiest available option but because it is specifically wanted. That quality—the specific desire for a particular snack rather than the general need for any snack—is what keeps a recipe in the rotation across months rather than weeks. These clusters earn that specific desire reliably, which is the standard any meal prep snack worth making should meet.
─────────────────────────────────────────
Meal Prep Pairing Suggestions
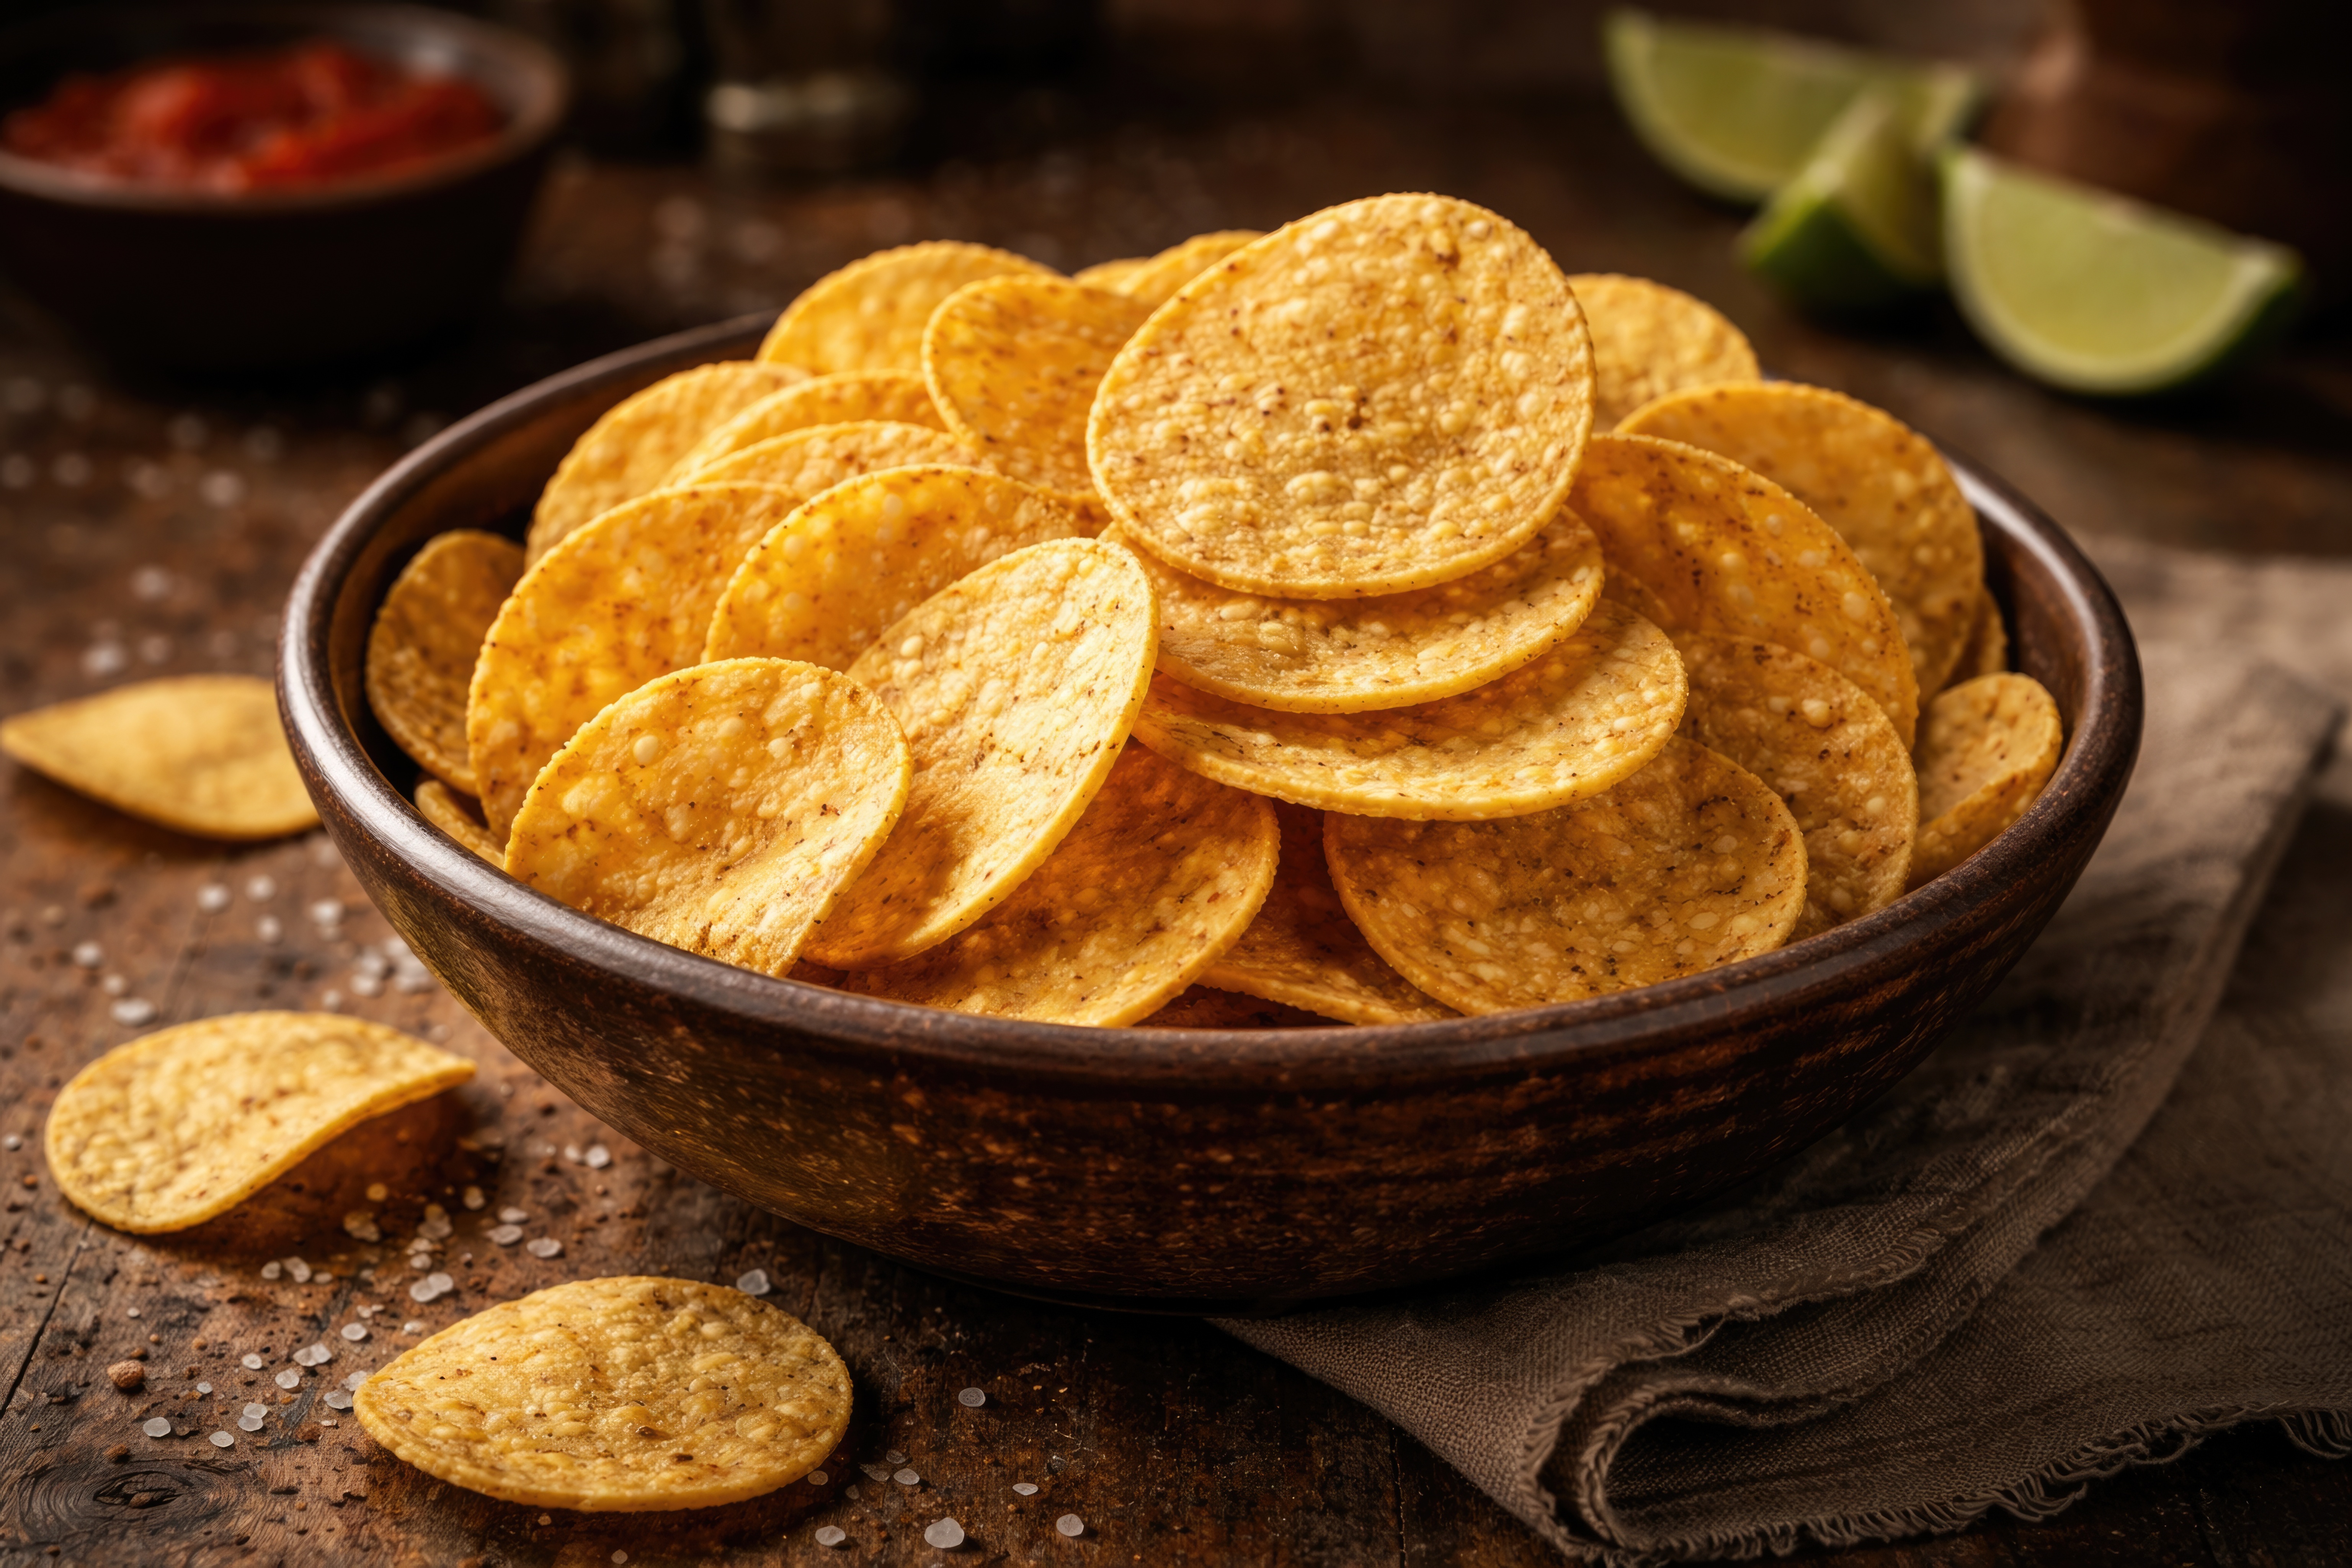
Chili Lime Pepita Clusters pair most naturally with snack preparations that share the same bold, Latin-inspired flavor tradition while offering contrast in format, texture, and protein profile. Our Smoky Black Bean & Cotija Bites are the natural companion—both are spiced, Mexican-inspired preparations built on the same chili-forward seasoning tradition, but where the clusters deliver that flavor in a crunchy, caramelized seed format, the bean bites deliver it in a soft, herb-studded baked preparation on a corn tortilla. The two cover entirely different textural and format territory within the same flavor ecosystem, making them a genuinely complementary snack pairing rather than a redundant one.
For a flavor contrast that stays within the chili-lime tradition while shifting into fresh fruit territory, our Mango Tajín Fruit Cups provide a cool, hydrating, naturally sweet counterpoint that makes the clusters’ caramelized warmth taste even more vivid by comparison. Two snack options covering the same Latin-inspired seasoning tradition from completely opposite textural and temperature directions—crunchy and caramelized versus cool and juicy—gives the week’s snacking a specific and satisfying flavor coherence that feels planned rather than coincidental. Both require under twenty minutes of combined prep. Both deliver across the full week. Both are considerably more interesting than anything available in a package at the same price point.
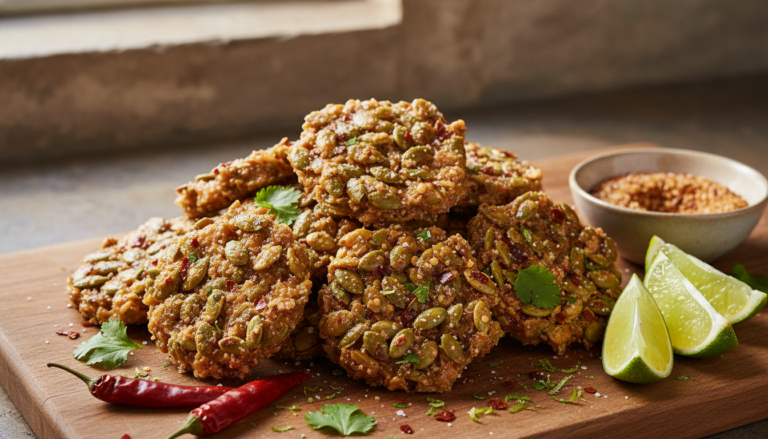
Chili Lime Pepita Clusters
These Chili Lime Pepita Clusters are a boldly seasoned, oven-baked snack that delivers caramelized crunch, chili heat, and bright citrus in every cluster—a five-ingredient preparation that takes fifteen minutes on Sunday and delivers all week long.
8
servings10
minutes15
minutes180
kcal25
minutesIngredients
2 cups raw pepitas (pumpkin seeds)
1 tbsp olive oil
1 tsp chili powder
1 tsp lime zest
1 tbsp lime juice
0.25 tsp salt
1 tbsp honey
Directions
- Preheat oven to 350°F (175°C) and line a baking sheet with parchment paper.
- In a bowl, toss pepitas with olive oil, chili powder, lime zest, lime juice, salt, and honey until well coated.
- Spread the pepitas evenly on the prepared baking sheet.
- Bake for 10-15 minutes, stirring halfway, until golden and fragrant.
- Allow to cool completely on the baking sheet to harden into clusters.
Nutrition Facts
- Total number of serves: 4
- Calories: 180kcal
- Cholesterol: 0mg
- Sodium: 620mg
- Potassium: 400mg
- Sugar: 8g
- Protein: 6g
- Calcium: 60mg
- Iron: 2mg
About This Author

Benjamin Brown
Recipe Developer
Benjamin is our flavor engineer. A classically trained chef turned recipe developer, he’s obsessed with balancing taste, texture, and creativity. He ensures that every recipe we publish is not only delicious but also reliable, approachable, and repeatable — even for beginners.
Favorite dish: Slow-braised short ribs with red wine reduction.
Kitchen motto: “Cooking is part science, part soul.”


