Air Fryer Taco Bombs

Air Fryer Taco Bombs

Healthy Fact of the Day

Air frying uses significantly less oil than traditional frying methods, reducing overall fat content while maintaining crispy texture. Using lean ground beef provides protein while keeping saturated fat in check.

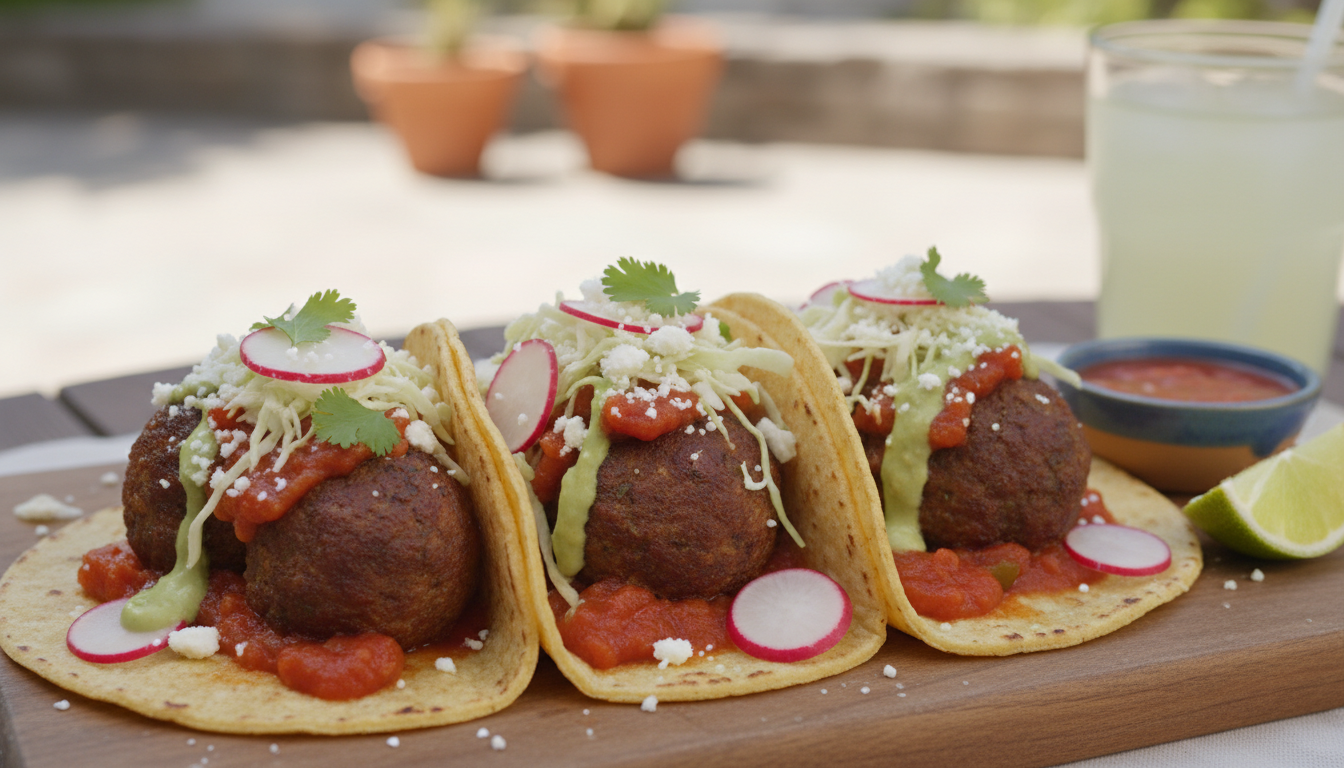
These Air Fryer Taco Bombs bring fusion fun to your Monday Munchies with their flaky biscuit exterior and savory taco-seasoned filling. They’re perfect for busy weeknights, game day gatherings, or anytime you want handheld comfort food that satisfies. The combination of seasoned beef, melted cheese, and buttery biscuit creates a flavor explosion that lives up to the “bomb” name.

If you love this handheld, cheesy combination, you’ll also enjoy our Beef and Cheese Empanadas with their similar crispy exterior and savory filling. For another air fryer creation that brings bold flavors to your table, try our Crispy Vegan Taquitos. They offer that same satisfying crunch with a plant-based twist that complements these meaty bombs perfectly.

Air Fryer Taco Bombs

Air Fryer Taco Bombs

Recipe by Daily Disher

Air Fryer Taco Bombs wrap seasoned ground beef and cheddar cheese in buttery biscuits, then air fry to golden perfection for a fun twist on taco night.

Course: SnackCuisine: MexicanDifficulty: Easy
0.0 from 0 votes
Servings

8

servings
Prep time

15

minutes
Cooking time

10

minutes
Calories

200

kcal

25

minutes

    Ingredients

    • 1/2 pound ground beef

    • 1 tablespoon taco seasoning

    • 8 count refrigerated biscuits

    • 1 cup shredded cheddar cheese

    • 1/4 cup sour cream

    • 2 tablespoons chopped green onions

    Directions

    • Preheat the air fryer to 350 degrees Fahrenheit. This ensures optimal cooking conditions for the taco bombs.
    • In a skillet, brown the ground beef over medium heat, stirring occasionally until fully cooked. Drain the excess fat.
    • Mix the cooked beef with taco seasoning, ensuring the meat is evenly coated for maximum flavor.
    • Flatten each biscuit and place a spoonful of seasoned beef and cheese in the center. Fold and seal the edges.
    • Place the filled biscuits seam-side down in the air fryer basket. Ensure there’s space between each biscuit.
    • Cook in the air fryer for 8 to 10 minutes or until the biscuits are golden brown and cooked through.
    • Serve the taco bombs warm, garnished with sour cream and chopped green onions for added flavor and texture.

    Nutrition Facts

    • Total number of serves: 4
    • Calories: 250kcal
    • Cholesterol: 0mg
    • Sodium: 620mg
    • Potassium: 400mg
    • Sugar: 8g
    • Protein: 6g
    • Calcium: 60mg
    • Iron: 2mg

    Can’t get enough of great flavors? Check out these popular recipes that readers love making again and again.

    For handheld favorites that make meals fun, our Crab Rangoon Egg Rolls and French Dip Sliders deliver crispy, satisfying bites perfect for any occasion. When you’re planning game day spreads, the Honey Butter Cornbread Poppers and Bruschetta Dip bring crowd-pleasing flavors with impressive presentation. Need more beef winners? Our Tamale Casserole and Italian Beef Sandwich offer that same hearty, family-friendly appeal with restaurant-quality taste.

    Browse our full collection for more kitchen inspiration that’ll have your family asking for seconds.

    0.0 from 0 votes

    Recent Recipes

    Hot Honey Chicken Salad

    • September 12, 2025
    • 1 min read

    Peach Whiskey Iced Tea

    • September 11, 2025
    • 1 min read

    Sweet Potato & Chickpea Curry

    • September 11, 2025
    • 1 min read

    Gourmet Seafood Cassolette

    • September 10, 2025
    • 2 min read

    Roasted Garlic White Chicken Lasagna Soup

    • September 10, 2025
    • 2 min read

    Greek Chicken Tacos with Whipped Feta

    • September 9, 2025
    • 2 min read

    Crockpot Cinnamon Apple Sauce

    • September 9, 2025
    • 2 min read

    Old Fashioned Goulash

    • September 8, 2025
    • 2 min read

    Butterscotch Chocolate Chip Cookies

    • September 7, 2025
    • 1 min read

    Jerk Salmon with Mango & Avocado Salsa

    • September 7, 2025
    • 2 min read

    Tip of the Day

    “Always let your meat rest before slicing.”

    Whether you're roasting a chicken, grilling steak, or baking pork tenderloin, letting cooked meat rest for 5–10 minutes before slicing allows the juices to redistribute evenly. This simple step keeps your meat juicy and tender, ensuring every bite is flavorful and moist. Bonus: It gives you a moment to plate your sides or garnish for a perfect presentation!

    Our Latest Recipes

    Chicken Recipes
    Daily Disher

    Hot Honey Chicken Salad

    Chicken breast provides lean protein for muscle maintenance, while the mixed greens offer vitamins A and K. The hot honey adds natural sweetness with a kick, allowing you to enjoy bold flavors while keeping the dish nutritionally balanced.

    Read More »
    Beverages
    Daily Disher

    Peach Whiskey Iced Tea

    Fresh peaches are packed with vitamin C and potassium, which support immune function and heart health — making this cocktail a deliciously guilt-free way to get your fruit servings!

    Read More »
    Entrees
    Daily Disher

    Sweet Potato & Chickpea Curry

    Sweet potatoes are packed with beta-carotene and fiber, while chickpeas provide plant-based protein and iron. This nutrient-dense combination helps maintain steady energy levels and supports digestive health.

    Read More »

    Get your daily dose of delicious!

    Skip to content