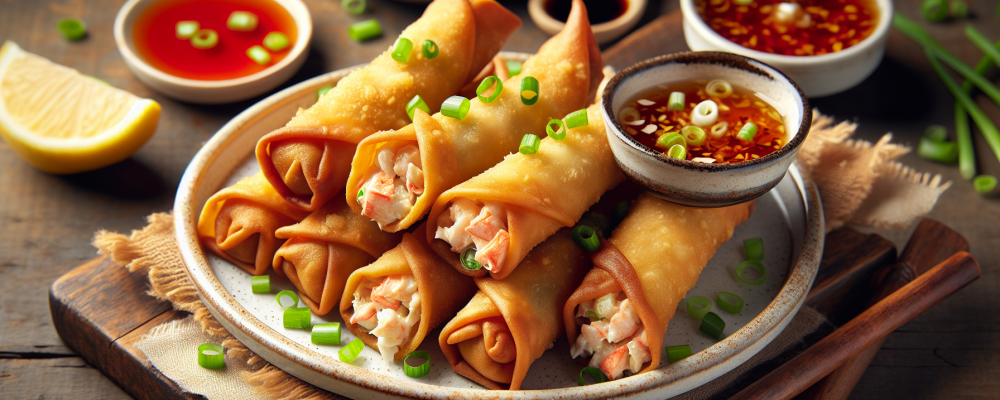
AI generated image of a recipe card.

Crab Rangoon Egg Rolls

Healthy Fact of the Day

Baking instead of frying reduces calories and saturated fat. You can also swap in light cream cheese for a lighter version without sacrificing flavor.

These Crab Rangoon Egg Rolls take the beloved appetizer to the next level with their crispy, golden exterior and creamy, savory filling. Packed with tender crab meat, cream cheese, green onions, and a touch of soy sauce, then wrapped in traditional egg roll wrappers and fried to perfection, they deliver that irresistible combination of crunch and creamy satisfaction. They’re the ultimate party appetizer that disappears as soon as they hit the table.

If you love this crispy, creamy combination, you’ll also enjoy our Easy Crab Rangoon Dip for a simpler version of these same flavors. For more party-perfect appetizers, try our Crab Crescents or Artichoke Green Chili Dip—both deliver that same crowd-pleasing appeal with rich, satisfying flavors.
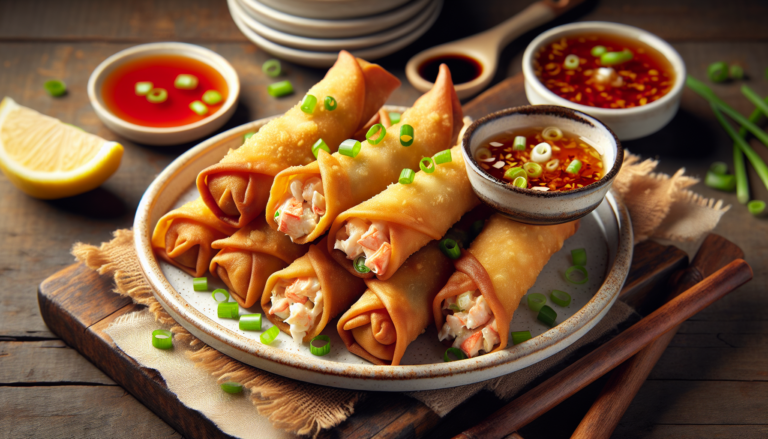

Crab Rangoon Egg Rolls

Crab Rangoon Egg Rolls

Recipe by Daily Disher

Crispy on the outside, creamy on the inside—these Crab Rangoon Egg Rolls are a fun and flavorful twist on a takeout classic.

Course: AppetizerCuisine: AsianDifficulty: Easy
4.5 from 4 votes
Servings

6

servings
Prep time

20

minutes
Cooking time

10

minutes
Calories

200

kcal

30

minutes

    Ingredients

    • 8 oz cream cheese, softened

    • 6 oz crab meat, drained and flaked

    • 1/4 cup green onions, chopped

    • 1 tbsp soy sauce

    • 1 tsp garlic powder

    • 12 egg roll wrappers

    • 1 cup vegetable oil, for frying

    Directions

    • In a mixing bowl, combine the cream cheese, crab meat, green onions, soy sauce, and garlic powder until well blended.
    • Place an egg roll wrapper on a clean, flat surface with one corner pointing toward you.
    • Spoon approximately 2 tablespoons of the mixture onto the center of the wrapper.
    • Fold the bottom corner over the filling, then fold in the sides, and roll tightly, sealing the edge with water.
    • Heat the vegetable oil in a deep frying pan over medium-high heat to about 350°F.
    • Fry the egg rolls in batches for about 2-3 minutes on each side until golden brown and crispy.
    • Remove from oil and drain on paper towels to remove excess oil before serving hot.

    Nutrition Facts

    • Total number of serves: 4
    • Calories: 250kcal
    • Cholesterol: 0mg
    • Sodium: 620mg
    • Potassium: 400mg
    • Sugar: 8g
    • Protein: 6g
    • Calcium: 60mg
    • Iron: 2mg

    Can’t get enough of great flavors? Check out these popular recipes that readers love making again and again.

    For more crispy favorites, our Bang Bang Cauliflower and Crispy Vegan Taquitos deliver that perfect crunch everyone craves. When you’re planning special occasions, the Overnight Eggs Benedict Casserole and Porcini and Chestnut Soup bring elegance to your table. Need quick party appetizers? Our Spinach Puffs and Fig and Goat Cheese Pinwheels get the celebration started without sacrificing flavor.

    Browse our full collection for more kitchen inspiration that’ll have your family asking for seconds.


    4.5 from 4 votes

    Recent Recipes

    Stuffed Italian Meatloaf

    • August 27, 2026
    • 6 min read

    Why You’re Supposed to Let Meat Rest

    • August 27, 2026
    • 4 min read

    French Onion Steak Pinwheels

    • August 27, 2026
    • 13 min read

    Slow Cooker Chicken Shawarma

    • August 27, 2026
    • 6 min read

    Most Olive Oil Labels Are Telling You

    • August 27, 2026
    • 4 min read

    Air Fryer Coconut Shrimp Tacos

    • August 27, 2026
    • 11 min read

    One Pot Beef & Noodles

    • August 27, 2026
    • 5 min read

    The Dish You Make When You Don’t

    • August 27, 2026
    • 4 min read

    Loaded Taco Deviled Eggs

    • August 27, 2026
    • 13 min read

    Baked Queso Chicken

    • August 27, 2026
    • 6 min read

    Tip of the Day

    “Always let your meat rest before slicing.”

    Whether you're roasting a chicken, grilling steak, or baking pork tenderloin, letting cooked meat rest for 5–10 minutes before slicing allows the juices to redistribute evenly. This simple step keeps your meat juicy and tender, ensuring every bite is flavorful and moist. Bonus: It gives you a moment to plate your sides or garnish for a perfect presentation!

    Our Latest Recipes

    Entrees
    Benjamin Brown

    Stuffed Italian Meatloaf

    Spinach adds iron, fiber, and vitamins to this dish, sneaking in extra nutrition without changing the comforting, cheesy flavor everyone loves.

    Read More »
    Blog
    Daily Disher

    Why You’re Supposed to Let Meat Rest (And What Happens If You Don’t)

    Letting meat rest before slicing helps retain more of its natural juices, which also means retaining more of the B vitamins and minerals like iron and zinc that would otherwise be lost onto the cutting board — and resting meat away from direct heat also reduces the formation of certain compounds linked to prolonged high-heat exposure.

    Read More »
    Entrees
    Amelia Grace

    French Onion Steak Pinwheels

    Flank steak is a naturally lean cut rich in protein, iron, and zinc—caramelized onions develop deep sweetness without any added sugar, making this an indulgent-tasting dish that’s more nutritious than it appears.

    Read More »

    Get your daily dose of delicious!

    Skip to content












