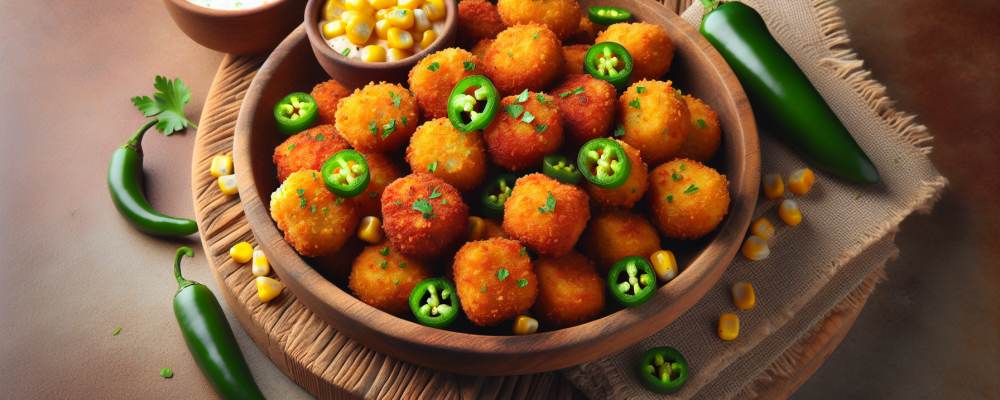
AI generated image of a recipe card.

Jalapeño Corn Nuggets

Healthy Fact of the Day

Corn is a good source of fiber and essential vitamins. For a lighter version, bake these nuggets instead of frying or use an air fryer to reduce oil content.

These Jalapeño Corn Nuggets deliver the perfect balance of sweet and heat in every crispy, golden bite. Fresh corn kernels and diced jalapeños are combined into tender nuggets that are crispy on the outside and bursting with flavor inside. They’re the kind of addictive appetizer that disappears from the plate before you know it, perfect for game day, parties, or whenever you need a crowd-pleasing snack with a kick.

If you love these crispy, spicy bites, you’ll also enjoy our Deviled Egg Salad for another crowd-pleasing appetizer with bold flavor. For more corn-inspired dishes, try our Mexican Street Corn Tacos or Mexicorn Rotel Dip—both deliver that same sweet corn appeal with exciting flavor twists.
Jalapeño Corn Nuggets

Jalapeño Corn Nuggets

Recipe by Daily Disher


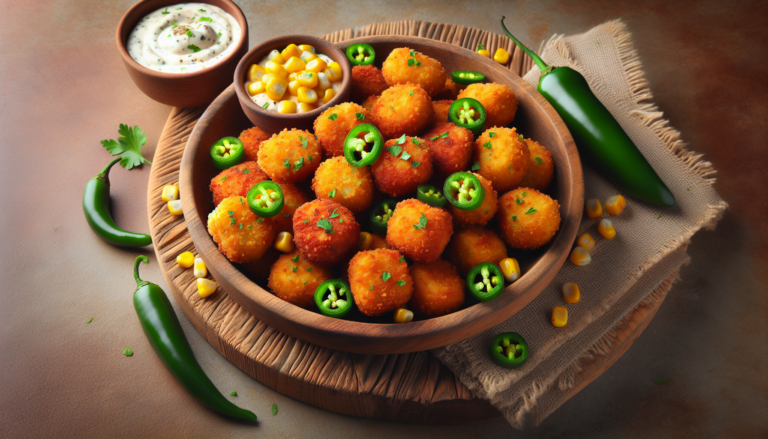
Jalapeño Corn Nuggets are crispy, golden bites packed with sweet corn, spicy jalapeños, and a crunchy cornmeal coating.

Course: AppetizerCuisine: SouthernDifficulty: Medium
3.2 from 5 votes
Servings

4

servings
Prep time

15

minutes
Cooking time

10

minutes
Calories

250

kcal

25

minutes

    Ingredients

    • 1 cup corn kernels

    • 1/4 cup jalapeños, finely chopped

    • 1/2 cup flour

    • 1/4 cup cornmeal

    • 1 teaspoon baking powder

    • 1/4 teaspoon salt

    • 1/4 teaspoon pepper

    • 1/4 cup milk

    • 1 egg

    • 2 cups oil for frying

    Directions

    • In a large bowl, combine corn kernels, chopped jalapeños, flour, cornmeal, baking powder, salt, and pepper. Stir until well mixed.
    • In a separate bowl, whisk together milk and egg. Pour the wet ingredients into the dry ingredients and mix until a thick batter forms.
    • Heat oil in a deep fryer or a heavy-bottomed pan over medium-high heat until it reaches 350°F (175°C).
    • Drop spoonfuls of batter into the hot oil, making sure not to overcrowd the pan. Fry for 3-4 minutes until golden brown.
    • Remove nuggets from oil using a slotted spoon and drain on paper towels. Repeat with remaining batter until all nuggets are cooked.
    • Serve nuggets warm with your choice of dipping sauce.

    Nutrition Facts

    • Total number of serves: 4
    • Calories: 250kcal
    • Cholesterol: 0mg
    • Sodium: 620mg
    • Potassium: 400mg
    • Sugar: 8g
    • Protein: 6g
    • Calcium: 60mg
    • Iron: 2mg

    Can’t get enough of great flavors? Check out these popular recipes that readers love making again and again.

    For more crispy favorites, our Seared Scallops with Spicy Cajun Cream Sauce and Crab and Shrimp Stuffed Salmon deliver restaurant-quality dishes that are perfect for special occasions. When you’re craving bold, spicy flavors, the Hamburger Steak in Creamy Dill Sauce and Garlic Butter Pan Seared Pork Chops bring satisfying heat to your dinner table. Need more party-perfect appetizers? Our Espresso Toffee Cookies and Chocolate Cherry Upside Down Cake offer that same memorable indulgence you’ll love.

    Browse our full collection for more kitchen inspiration that’ll have your family asking for seconds.


    3.2 from 5 votes

    Recent Recipes

    Spicy Chicken McNuggets Are Officially Back at

    • August 31, 2026
    • 2 min read

    Stuffed Italian Meatloaf

    • August 27, 2026
    • 6 min read

    Why You’re Supposed to Let Meat Rest

    • August 27, 2026
    • 4 min read

    French Onion Steak Pinwheels

    • August 27, 2026
    • 13 min read

    Slow Cooker Chicken Shawarma

    • August 27, 2026
    • 6 min read

    Most Olive Oil Labels Are Telling You

    • August 27, 2026
    • 4 min read

    Air Fryer Coconut Shrimp Tacos

    • August 27, 2026
    • 11 min read

    One Pot Beef & Noodles

    • August 27, 2026
    • 5 min read

    The Dish You Make When You Don’t

    • August 27, 2026
    • 4 min read

    Loaded Taco Deviled Eggs

    • August 27, 2026
    • 13 min read

    Tip of the Day

    “Always let your meat rest before slicing.”

    Whether you're roasting a chicken, grilling steak, or baking pork tenderloin, letting cooked meat rest for 5–10 minutes before slicing allows the juices to redistribute evenly. This simple step keeps your meat juicy and tender, ensuring every bite is flavorful and moist. Bonus: It gives you a moment to plate your sides or garnish for a perfect presentation!

    Our Latest Recipes

    Blog
    Daily Disher

    Spicy Chicken McNuggets Are Officially Back at McDonald’s

    Fried, breaded items paired with a bold dipping sauce can add up in sodium fairly quickly, especially if you’re ordering a larger nugget size. To keep things balanced, consider going with a smaller portion of nuggets, using the sauce sparingly rather than dipping every bite, and pairing the order with a side salad or apple slices instead of fries to add some fiber back into the meal.

    Read More »
    Entrees
    Benjamin Brown

    Stuffed Italian Meatloaf

    Spinach adds iron, fiber, and vitamins to this dish, sneaking in extra nutrition without changing the comforting, cheesy flavor everyone loves.

    Read More »
    Blog
    Daily Disher

    Why You’re Supposed to Let Meat Rest (And What Happens If You Don’t)

    Letting meat rest before slicing helps retain more of its natural juices, which also means retaining more of the B vitamins and minerals like iron and zinc that would otherwise be lost onto the cutting board — and resting meat away from direct heat also reduces the formation of certain compounds linked to prolonged high-heat exposure.

    Read More »

    Get your daily dose of delicious!

    Skip to content












