04cfe0bb-918d-4208-bb6d-4f3621be51ca

Irish Scones

Healthy Fact of the Day

Irish Scones are a delightful treat that can be made a bit healthier by substituting whole wheat flour for part of the all-purpose flour or reducing the sugar. Adding dried fruits like currants provides natural sweetness and a dose of fiber. Pairing scones with fruit preserves or fresh berries adds extra vitamins to your snack.

Ingredients

  • 2 cups all-purpose flour
  • 1/4 cup granulated sugar
  • 2 tsp baking powder
  • 1/4 tsp baking soda
  • 1/2 tsp salt
  • 1/4 cup cold unsalted butter, cubed
  • 1/3 cup raisins or currants (optional)
  • 2/3 cup buttermilk
  • 1 large egg
  • 1 tsp vanilla extract
  • Extra flour for dusting
  • Optional: clotted cream and jam for serving

     Instructions
  1. Preheat oven to 400°F (200°C) and line a baking sheet with parchment paper.

  2. In a large bowl, whisk together flour, sugar, baking powder, baking soda, and salt.

  3. Cut in the cold butter using a pastry cutter or your fingers until the mixture resembles coarse crumbs.

  4. Stir in raisins or currants, if using.

  5. In a separate bowl, whisk together buttermilk, egg, and vanilla extract.

  6. Gradually add to the dry ingredients, mixing until a soft dough forms.

  7. Turn the dough onto a floured surface and knead gently 3-4 times. Pat into a 1-inch-thick circle and cut into rounds using a biscuit cutter.

  8. Place scones on the prepared baking sheet, leaving some space between them.

  9. Brush the tops with a little buttermilk for a golden finish.

  10. Bake for 12-15 minutes, or until the scones are golden brown.

  11. Serve warm with clotted cream and jam.

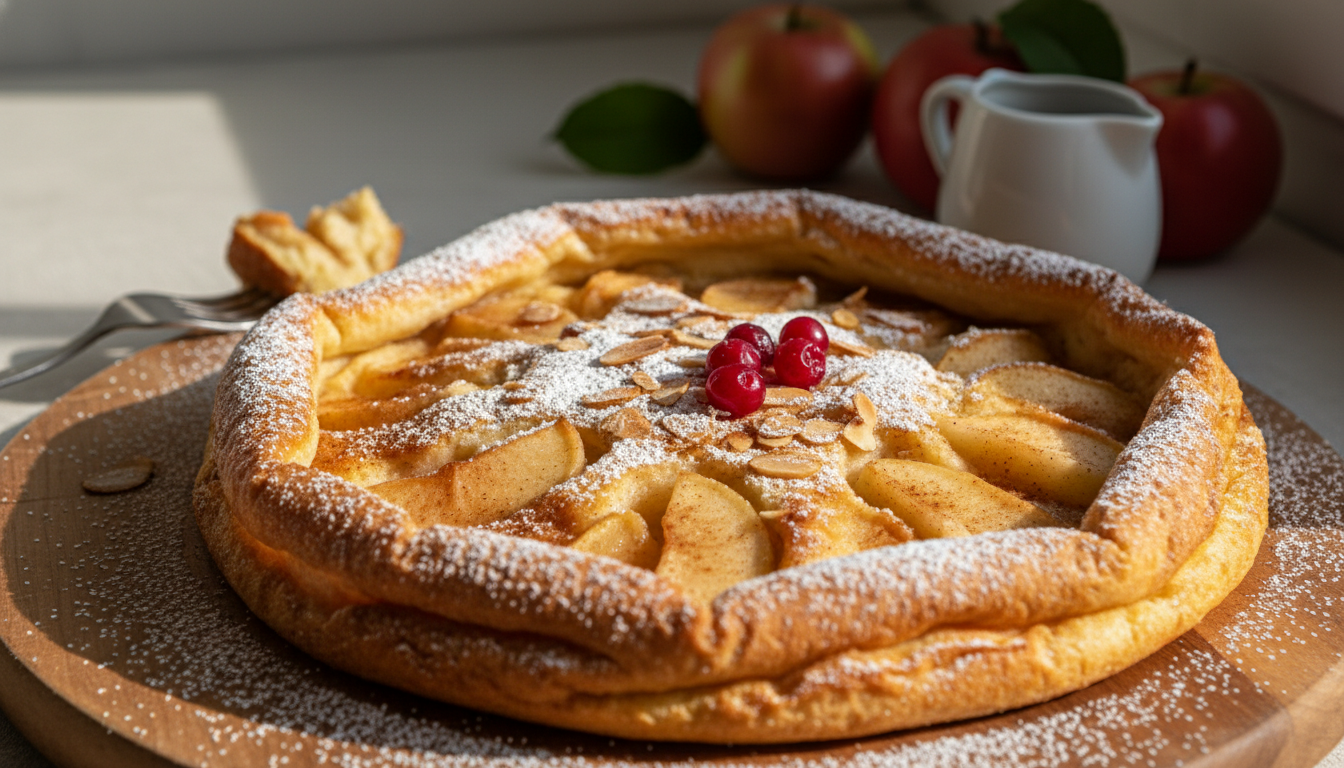
    Bring a taste of Ireland to your table with these classic Irish Scones! Golden, buttery, and just the right amount of crumbly, they pair perfectly with a dollop of clotted cream and a spoonful of jam. Whether enjoyed with tea or as a cozy breakfast, these scones are sure to add warmth and charm to your day. Bake up a batch and savor a timeless tradition!

Recent Recipes

Italian Pot Roast & Parmesan Risotto

  • January 28, 2026
  • 1 min read

Rotisserie Chicken Mushroom Soup

  • January 28, 2026
  • 1 min read

Baja Chicken Tacos

  • January 27, 2026
  • 1 min read

Roast Beef and Cheese Stuffed Biscuits

  • January 27, 2026
  • 1 min read

Buffalo Chicken Bombs

  • January 26, 2026
  • 1 min read

Italian Polenta with Mushrooms

  • January 26, 2026
  • 1 min read

The Quiet Moment Every Chef Knows

  • January 25, 2026
  • 4 min read

Pecan Pie Cheesecake Bars

  • January 25, 2026
  • 1 min read

Mediterranean Salmon Bake

  • January 25, 2026
  • 1 min read

The Cooking Advice We Should Probably Stop

  • January 24, 2026
  • 4 min read

Tip of the Day

“Always let your meat rest before slicing.”

Whether you're roasting a chicken, grilling steak, or baking pork tenderloin, letting cooked meat rest for 5–10 minutes before slicing allows the juices to redistribute evenly. This simple step keeps your meat juicy and tender, ensuring every bite is flavorful and moist. Bonus: It gives you a moment to plate your sides or garnish for a perfect presentation!

Our Latest Recipes

Chicken Recipes
Daily Disher

Rotisserie Chicken Mushroom Soup

Rotisserie Chicken Mushroom Soup features shredded rotisserie chicken with sautéed mushrooms, onions, and garlic in a creamy chicken broth base with fresh herbs.

Read More »
Chicken Recipes
Daily Disher

Baja Chicken Tacos

Marinating chicken in lime juice not only enhances flavor but also helps tenderize the meat naturally. The fresh vegetables add fiber, vitamins, and minerals while keeping the tacos light and refreshing.

Read More »

Get your daily dose of delicious!

Skip to content