Daily Dish

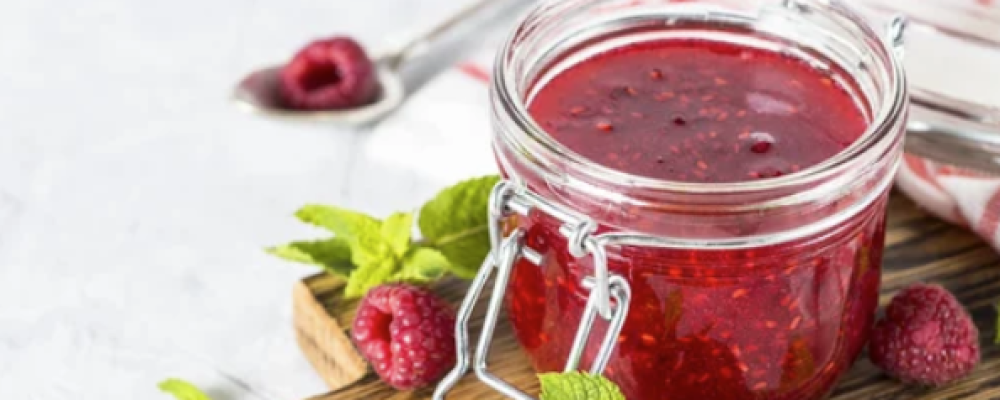
Luscious Homemade Strawberry Jam

Healthy Fact of the Day

Strawberries are an excellent source of vitamin C and contain powerful antioxidants called polyphenols. While jam does contain a high amount of sugar, enjoying it in moderation can be part of a balanced diet.

Ingredients


  • 4 cups fresh strawberries, hulled and chopped
  • 4 cups granulated sugar
  • 1/4 cup fresh lemon juice
  • 1 (3-ounce) pouch liquid pectin


Instructions

  1. In a large bowl, mix the chopped strawberries with sugar. Let stand at room temperature for about 2 hours, stirring occasionally. This process helps the sugar dissolve and the strawberries release their juices.
  2. Transfer the strawberry mixture to a large, heavy-bottomed pot. Add lemon juice and bring to a rolling boil over high heat, stirring frequently.
  3. Once boiling, add the liquid pectin and return to a full rolling boil. Boil hard for 1 minute, stirring constantly.
  4. Remove from heat and skim off any foam from the surface with a metal spoon.
  5. Ladle the hot jam into clean, sterilized jars, leaving 1/4-inch headspace at the top.
  6. Wipe the rims of the jars with a clean, damp cloth to remove any spills. Place the lids on and screw on the bands until they are fingertip tight.
  7. Process the jars in a boiling water bath for 10 minutes (adjust for altitude if necessary).
  8. Remove jars from the water bath and let cool completely on a towel at room temperature for 24 hours.
  9. Check that all lids have sealed properly. Any unsealed jars should be refrigerated and used within 3 weeks.


Spread a spoonful of this vibrant homemade strawberry jam on your morning toast and let the sweet, tangy flavors transport you to sun-drenched strawberry fields – a delicious way to preserve summer’s bounty and brighten up even the dreariest of days!


Recent Recipes

Oreo Just Quietly Brought Back Two Fall

  • August 12, 2026
  • 3 min read

Steak Diane with Asparagus

  • August 12, 2026
  • 13 min read

Cheesy Smashed Potatoes

  • August 12, 2026
  • 6 min read

The Summer Drink: What You Put in

  • August 12, 2026
  • 12 min read

Check Your Fridge Now: Taylor Farms Recalls

  • August 11, 2026
  • 4 min read

Shrimp Tacos with Jalapeño Lime Slaw

  • August 11, 2026
  • 11 min read

Crispy Baked Italian Parmesan Chicken

  • August 11, 2026
  • 6 min read

The Sunday Roast: A Ritual Worth Reviving

  • August 11, 2026
  • 12 min read

Happy National S’mores Day — Here’s Every

  • August 10, 2026
  • 3 min read

Mozzarella and Spinach Crostini

  • August 10, 2026
  • 12 min read

Tip of the Day

“Always let your meat rest before slicing.”

Whether you're roasting a chicken, grilling steak, or baking pork tenderloin, letting cooked meat rest for 5–10 minutes before slicing allows the juices to redistribute evenly. This simple step keeps your meat juicy and tender, ensuring every bite is flavorful and moist. Bonus: It gives you a moment to plate your sides or garnish for a perfect presentation!

Our Latest Recipes

Blog
Daily Disher

Oreo Just Quietly Brought Back Two Fall Favorites — And One Is Already Selling Out

Limited-edition cookies are best enjoyed as a deliberate treat rather than a pantry staple — and the two-pack format from Oreo’s website actually makes portion control easier than buying a full grocery store bag. If you grab both flavors, try them side by side to compare rather than eating through one pack before opening the next. Dunking in milk, as Apple Pie a la Mode fans unanimously recommend, also naturally slows the pace of eating — the brief pause between each dunk gives you a better sense of when you’re satisfied.

Read More »
Entrees
Benjamin Brown

Steak Diane with Asparagus

Choose sirloin or tenderloin cuts for a leaner profile without sacrificing the dish’s classic character—use half-and-half instead of heavy cream to reduce fat while maintaining the sauce’s luxurious, clingy texture.

Read More »
Other
Amelia Grace

Cheesy Smashed Potatoes

Baby potatoes are naturally rich in potassium, vitamin C, and fiber, and the boil-then-roast method uses significantly less oil than deep frying while still achieving a genuinely crispy exterior. Using a modest amount of cheddar and garlic butter as a finishing layer means you get maximum flavor impact with a relatively light hand on the added fat.

Read More »

Get your daily dose of delicious!

Skip to content












