Daily Dish

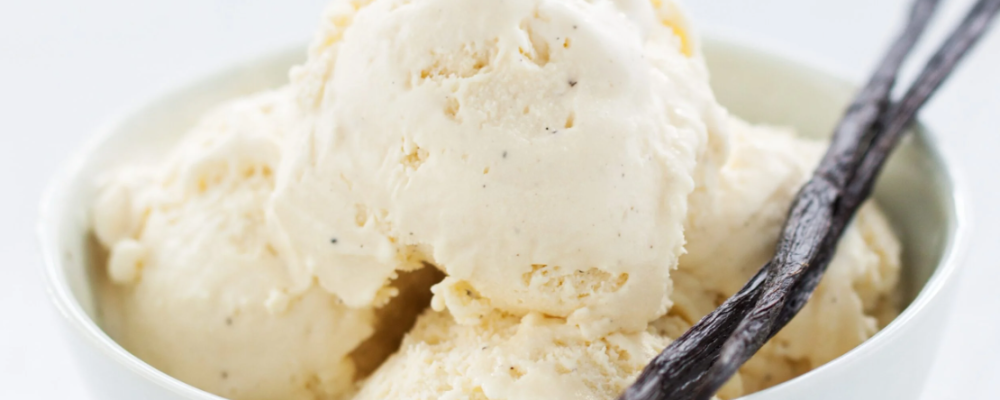
Creamy Vanilla Bean Ice Cream

Healthy Fact of the Day

While ice cream is an indulgent treat, making it at home allows you to control the ingredients and avoid additives often found in store-bought varieties. Using high-quality, whole ingredients like fresh cream and vanilla beans can also provide some nutrients, such as calcium and antioxidants, in moderation.

Ingredients


  • 2 cups heavy cream
  • 1 cup whole milk
  • 3/4 cup granulated sugar
  • 1 vanilla bean, split lengthwise
  • 5 large egg yolks
  • 1/4 tsp salt


Instructions

  1. In a medium saucepan, combine the heavy cream, milk, and half of the sugar.

  2. Scrape the seeds from the vanilla bean into the mixture and add the bean pod as well.

  3. Heat the mixture over medium heat, stirring occasionally, until it comes to a simmer.

  4. Remove from heat, cover, and let the vanilla steep for 30 minutes.

  5. In a separate bowl, whisk together the egg yolks, remaining sugar, and salt until the mixture is pale and thickened.

  6. Slowly pour the warm cream mixture into the egg yolk mixture, whisking constantly to temper the eggs and prevent curdling.

  7. Return the entire mixture to the saucepan and cook over low heat, stirring constantly, until the custard thickens and coats the back of a spoon (around 170°F or 77°C).

  8. Strain the custard through a fine-mesh sieve into a clean bowl, removing the vanilla bean pod.

  9. Cover the bowl with plastic wrap, pressing it directly onto the surface of the custard to prevent a skin from forming.

  10. Chill the custard in the refrigerator for at least 4 hours, or until completely cold.

  11. Pour the chilled custard into an ice cream maker and churn according to the manufacturer’s instructions, typically 20-30 minutes, until the ice cream is thick and creamy.

  12. Transfer the ice cream to a freezer-safe container, cover tightly, and freeze for at least 2 hours before scooping and serving.

Indulge in the velvety smooth, dreamy perfection of this homemade vanilla bean ice cream, and let each luscious spoonful transport you to a world where life is sweet, and dessert dreams come true!

Recent Recipes

Creamy Garlic Parmesan Chicken Thighs

  • September 17, 2025
  • 1 min read

Chicken Fried Chicken

  • September 17, 2025
  • 2 min read

Wasabi Battered Shrimp Tacos

  • September 16, 2025
  • 2 min read

Garlic Parmesan Mushrooms

  • September 16, 2025
  • 1 min read

Quick Cherry Pie Bites

  • September 15, 2025
  • 2 min read

Seafood Gratin

  • September 15, 2025
  • 1 min read

Samoas Pie

  • September 14, 2025
  • 1 min read

Crispy Parmesan Crusted Roasted Brussels Sprouts

  • September 14, 2025
  • 1 min read

Apple Fritter Bites

  • September 13, 2025
  • 1 min read

Crockpot Ravioli Lasagna

  • September 13, 2025
  • 1 min read

Tip of the Day

“Always let your meat rest before slicing.”

Whether you're roasting a chicken, grilling steak, or baking pork tenderloin, letting cooked meat rest for 5–10 minutes before slicing allows the juices to redistribute evenly. This simple step keeps your meat juicy and tender, ensuring every bite is flavorful and moist. Bonus: It gives you a moment to plate your sides or garnish for a perfect presentation!

Our Latest Recipes

Chicken Recipes
Daily Disher

Chicken Fried Chicken

Pounding the chicken to an even thickness ensures uniform cooking and helps the meat stay tender and juicy. While this is an indulgent dish, the protein from chicken supports muscle health and keeps you satisfied longer.

Read More »
Entrees
Daily Disher

Wasabi Battered Shrimp Tacos

Wasabi contains compounds that may have anti-inflammatory properties, and shrimp provides lean protein with minimal calories. The fresh cabbage adds vitamin C and fiber for a nutritious crunch.

Read More »

Get your daily dose of delicious!

Skip to content